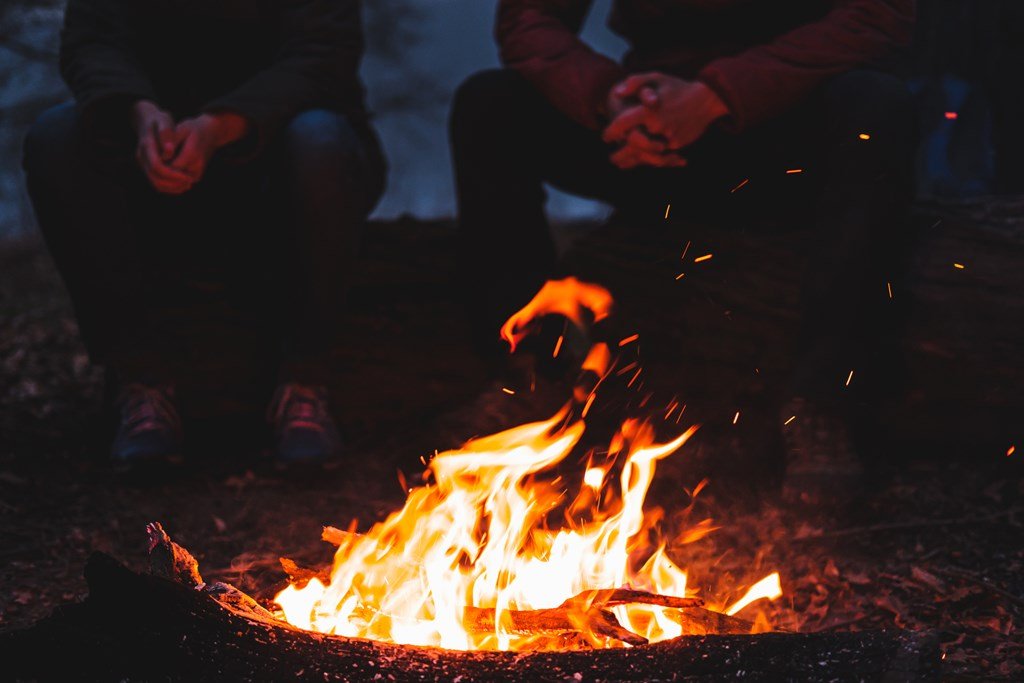
Campfires might be the best invention ever, giving you warmth, light, and a cozy gathering. Being a beginner or an old-timer camper, safety and efficiency are very important while making a campfire. Follow these steps to make a campfire so simple that setting it up is easy, safe, and ready to keep you warm all night long.
Step 1: Select a Safe Place For Your Intervention
First of all, make sure to be safe with the appropriate location. Fire rings are more preferred in camping site surroundings. Or else, a place can be chosen clear of trees, dry grass, or low-hanging branches. Clear around your fire, at least 10 feet from the flammable objects. You can choose a Bare Essentials portable fire pit and keep your fire contained safely at many places.
Step 2: Gather Your Resources
In building a good campfire, you are going to need three separate types of resources: tinder, kindling, and fuel wood. Tinder are tiny pieces of dry material that burn easily, such as leaves or grass or pine needles or thin shavings of bark. Kindling are smaller sticks and twigs that catch fire from your tinder and start to build on. Fuel wood is just logs and burns well and continuously for your fire. Add to this the few natural fire starters such as petroleum jelly-soaked cotton balls to add dependability.
Step 3: Creating a Fire Stack
The materials you stack in a manner that is going to impact how good your fire is burning. To make your fire burn fast, then teepee is preferred where tinder sits at the center and cone-like kindling stacked around it. The other one is log cabin, a structure formed by the use of large logs placed parallel to form a square “cabin.” This burns longer and is the best suited for cooking. A lean-to structure is well suited to windy conditions, and involves placing one large log upright, and leaning against it some tinder and smaller sticks.
Step 4: Light the Fire
Use lighter, match, or even the Bare Essentials flint striker to ignite tinder if the traditional setting is your requirement. Make sure it’s lit through many points before slowly adding some kindling, and so on until when the full-fledged fuel woods become wholly ablaze; add on sustain fuel woods to allow for steady-long fire burning.
Step 5: Maintain the Fire
Now once your fire is lit, sustain it with the addition of fuel wood. Never let your fire grow big during a dry or windy weather. Keep a supply of water or a extinguisher nearby. Observe your fire so it never turns out to burn itself out since tiny flames can quickly spread to ignite other parts without anyone attending to it.
Step 6: Safe Fire Extinguishing
Then, once you are done with your campfire, make sure to fully extinguish it. Pour water over the flames to cool them down. Add more water along with stirring the ashes over with a stick. This will give an assurance that there is not one ember left in it. If you do not have water, dig or add dirt/sand over it to let the fire die from gaining access to air fully and eliminate all heat.
Campfire Safety Bonus Tips
Also make sure you are aware of all local regulations for burning as dry conditions demand varied approaches to less arid weather conditions. You will also enjoy having a small, portable pit, as Bare Essentials could offer in its retailing website to have a safely controlled burning place.
As far as personal responsibility with these gatherings and open space uses, everyone needs to have a supply of water and must have at hand a shovel, prime pieces of equipment when holding and extinguishing the burn fire.
Final Thoughts
Building a safe and efficient campfire is pretty simple, especially with the right materials, some planning, and basic gear from Bare Essentials. A campfire can be a hub of comfort and connection as it allows you to cook, warm up, or simply bask in the glow.


